

Remember my Valentine's and St. Patrick's Day shoot of my kids?
Well, just to prove that a little tinkering can make photos look stellar, I decided to use my basic point and shoot for the St. Patrick's Day photoshoot instead of my fancy DSLR camera.
{well... I was forced to when the battery on my DSLR died the minute I got Lady Bug set up}
After you take all those wonderful photos using natural light and NO flash, edit them!
Go to the Picnik website.
Click on "Get Started Now"
{you don't need to sign up to edit photos, however, if you DO sign up for the free account, you can upload 5 pictures at a time - compared to just one}

Click on "Upload A Photo"

Click on "Get Started Now"
{you don't need to sign up to edit photos, however, if you DO sign up for the free account, you can upload 5 pictures at a time - compared to just one}

Click on "Upload A Photo"

Find the photo you want to edit and upload it to the site.
Click on "Create"
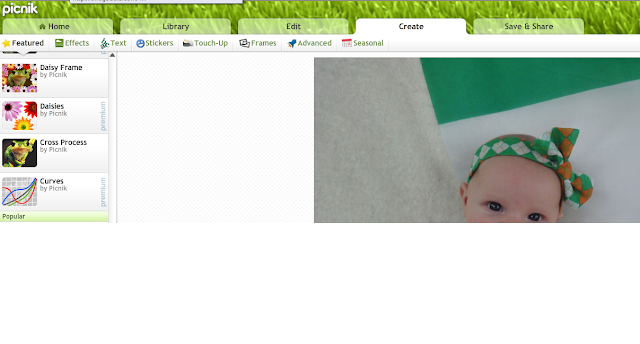
Click on "Effects"

Here's where you can play around and have fun!
If the effect says "Premium" on it, you can see what the effect would look like, but can't apply it unless you pay a monthly fee.
Once you find an effect you like, click "Apply."
 |
| I used the Lomo-ish effect with all my St. Patty's Day photos and adjusted the Fade to 50% |
Then click on "Save and Share" and save your edited photo.
{tip - keep the original file name and add the editted name afterwards}

Picnik is so fun!
Here are some other effects that look great, too!
70's

Cross Process

HDR-ish

So, head over to Picnik and have some fun!
0 comments:
Post a Comment